
Ultra Wormhole Shiny Hunting – Pokémon Ultra Sun and Ultra Moon
Table of Contents
One of the greatest features added to Pokémon Ultra Sun and Ultra Moon is the Ultra Wormhole. When you use the Ultra Wormhole, you can travel to distant dimensions (called Ultra Space) on top of Solgaleo or Lunala. Within these wormholes, you have the ability to encounter Legendary Pokémon, and none of them are shiny locked! This means you can soft reset as many times as necessary to get shiny legendary Pokémon.
There are also non-legendary Pokémon that can appear and they can also be shiny. Their mechanics are different than wild encounters, but will also be discussed.
This guide is designed to help you take advantage of this features and how to do so efficiently. We will go over good team compositions, strategies to properly weaken the Pokémon so that you can catch it as well as a strategy for catching them in the coveted Beast Balls.
Please note that pictures and other companion guides are in the works.
Traversing the Ultra Wormhole
You can travel through the Ultra Wormhole at the Altar of Sunne/Moone on Poni Island depending on the version of the game you have. This becomes available once you’ve gone to Ultra Megalololis for the first time. You will fly initially on Lunala in Ultra Sun or Solgaleo in Ultra Moon, but you can change this to the one of your choice in Ultra Megalopolis.
The game will also use pure motion controls (which are incredibly difficult to use efficiently) unless you change them. It is highly recommended that you head to GAME FREAK’s building in Heahea City and talk to one of the developer characters in their office to switch to the Circle Pad.

These are the different types of orbs you’ll find in the wormhole. The orange orbs increase your energy and speed while the blue ones decrease your energy and speed.
As you travel, you will encounter three things inside the minigame. The first are orange orbs this increases the speed that you travel at which allows you to travel further through the worm hole. The second are blue orbs that spark with electricity which will slow you down! The third are exit wormholes that are in many different colors. The farther you travel, the less common the orange orbs will appear, so you need to be sure to collect as many. As you slow down and lose energy, you will be unable to escape the pull of the wormholes that you approach rendering you unable to travel farther.
A good strategy is to gather as many orange orbs as you can at the earliest parts of your travel to build up speed. Then, stay near the center using smaller movements to avoid the blue orbs. It will take some practice, but you’ll soon be able to travel long distances to the rare exit wormholes.
Types of Wormhole Rarity
As you travel through the wormhole, you should notice four different appearances of wormholes. These increase in fanciness with their rarity. Basic wormholes have no “halos,” the next rarest will have a single “halo,” the third will have two “halos,” and the rarest will have two “halos” with a type of spiraling energy. The rarest wormholes are guaranteed to have legendary Pokémon (until you have caught all of them with that color), though technically all wormholes can contain them.
The rarer the wormhole, the higher the chance of rare Pokémon. What follows is a table detailing the odds of finding these various types after certain distances.
| Distance Traveled (Light-years) |
Type 1 | Type 2 | Type 3 | Type 4 |
|---|---|---|---|---|
| 0 | 100% | 0% | 0% | 0% |
| 1000 | 78% | 20% | 2% | 0% |
| 1500 | 66% | 30% | 4% | 0% |
| 2000 | 52% | 40% | 8% | 0% |
| 2500 | 33% | 50% | 16% | 1% |
| 3000 | 32% | 50% | 16% | 2% |
| 3500 | 31% | 50% | 16% | 3% |
| 4000 | 30% | 50% | 16% | 4% |
| 4500 | 29% | 50% | 16% | 5% |
Table data retrieved from Serebii.net
Colors of Wormholes
Which Pokémon you get is entirely dependent on the color of wormhole. In all, there are 5 different colors of wormholes: white, red, yellow, blue, and green. The white wormholes will always have Ultra Beasts (or send you to Ultra Megalopolis). The other four colors, which are more common, lead to different worlds.
Red leads to a large cliff area that’s typically infested with Pokémon that can fly. Yellow leads to a cave system underground that typically has cave-dwellers. Blue leads to a beautiful waterfall where typically you’ll find water types. Green leads to what appears to be a subterranean cavern with different types of Pokémon. A later section details which legendaries you can find in these different wormholes.
Non-legendary Shiny Pokémon
Regular Pokémon have a chance of being shiny when you enter a wormhole. The further you go, the higher the chance the Pokémon is shiny. There is a nifty little formula that determines the odds of a shiny encounter based on distance and wormhole rarity:
mod + rarity_mod * min(9, (light_year / 500) - 1)
Though, for Wormhole Type 1, the odds are always 1% regardless of distance. Here are the values for the other types of wormholes:
| Wormhole Type | mod |
rarity_mod |
|---|---|---|
| Type 2 | 0 | 1 |
| Type 3 | 1 | 2 |
| Type 4 | 1 | 4 |
Due to that min function, there is a cap to the shiny rate for these wormholes. For type 1, the maximum odds are 1%. For type 2, the maximum odds are 10%. For type 3, the maximum odds are 19%. And for type 4, the maximum odds are 36%. This is a great way to get some shiny Pokémon (though the encounter tables are very limited).
When you enter a wormhole, it is highly recommended that you save. If Pokémon that you encounter is shiny, then it is always shiny. This means that you can soft-reset for better natures and/or IVs with these shiny Pokémon, if you wish.
Legendary Shiny Pokémon
When you enter a wormhole with a Legendary Pokémon, the screen will flash light and you will get a note about some kind of “powerful presence.” This means it is a good time to save.
Unlike the non-legendary shiny Pokémon detailed above, the legendaries are not guaranteed to be shiny. They become standard encounters with the standard rates. Each time it is encountered (approaching it), the game will determine if it is shiny or not. These odds are 1/4096 if you don’t have the shiny charm and ~1/1365 if you do have the shiny charm.
This makes it ideal to walk up close to the encounter and then save. You can then soft reset after encountering the Pokémon to see if it is shiny.
Strategies for Soft Resetting
Here are a few useful techniques to optimize your time while soft resetting for the Pokémon you desire.
How to Save Before Encountering
When soft resetting for shinies (whether it be for the legendary Pokémon or to reroll stats on the already-found non-legendary shinies), it is highly recommended that you save several times upon approach. Save right outside the wormhole when you enter the area. Then, get close to the Pokémon encounter. Save before getting close, then continue edging closer saving every step or two. You will then be right at the point where you take a single step and encounter the Pokémon (or a single A-press in the case of Ultra Beasts).
This will help you get very close to the encounter zone when you reload your save. Extra steps take up more time upon each encounter. Every extra second or few frames each encounter adds up very quickly! If it takes an extra second to approach the encounter zone, that quickly becomes 1,000 wasted seconds during 1,000 encounters! That’s over 16 wasted minutes that could have gone into more encounters!
The Soft Reset Button Combination
Ultra Sun and Ultra Moon have a built in button combination that resets the game. Instead of pressing the home button, closing the game, and then relaunching the game, you can press L + R + Start/Select (you can do either Start or Select). This will immediately throw you back to the title screen and you can relaunch your save file.
Using Rubber Bands and Paper Clips

Here is an example of a rubber band wrapped around the 3DS to hold down the L and R buttons.
When using the soft reset button combination, you can use rubber bands and paper clips to make it easier to soft reset while watching TV or doing some other activity.
Before starting, make sure you’ve entered the game ready to encounter the Pokémon. Take a large rubber band (which you can find in the office supply section of most stores) and wrap it around your 3DS so that it is holding the L and R buttons down. Then, you can bend a paper clip to keep the Circle Pad holding up.

Here is how the bent paper clip can hold the circle pad up. Bend it to a shape like shown.
With that set up, you just need to press A twice when you see the title screen to enter the game. Once you encounter the Pokémon and need to reset the game, you can just press the Start button.
It is recommended that for this method you do not have the L = A option set. It seems to interfere with the button combination for soft resetting.
Strategies for Weakening Pokémon
Once you have found the Shiny Pokémon, you need to weaken it before capture (unless you want to lob Poké Balls at it until capture, though that is not recommended).
Some basic tricks to keep in mind are having certain “roles” fulfilled by Pokémon on your team. At the most basic level, you should have a “False Swiper” and a “Sleeper” or “Paralyzer.”
False Swipe (or Hold Back) is a move that deals damage but never lets the opposing Pokémon’s HP fall below 1 HP. This means that you can guarantee hitting the Pokémon to weaken it while never knocking it out. Since capture mechanics work based on current HP values, this is incredibly useful.
All status conditions also make it easier to capture a Pokémon. However, you don’t want to use poison or burn because it could knock the Pokémon out. Freezing could also work, but it’s much harder to find a good freezer. With this in mind, paralyze and sleep are much more consistent and recommended. Paralyze increase your odds of capture, but not as much as sleep. So, if you are okay with constantly making the opposing Pokémon sleep, that’s the route you should go.
A great Pokémon to use for this purpose is Gallade, as it can learn Hypnosis and False Swipe, filling both of these roles at once. However, there are more consistent, though also more advanced and difficult to produce, team compositions. A more in-depth guide will be published soon with this information.
Beast Balls
At this point, it is also important to mention Beast Balls. These new Poké Balls were introduced in Alola and are coveted by collectors everywhere. They look cool and they are difficult to use. In fact, Beast Balls are approximately 1/10th as effective as a standard Poké Ball. That means that you need a lot of them because it can take dozens or hundreds of throws for successful capture.
You can purchase Beast Balls at the Aether Foundation in either singles or batches of ten. They’re fairly expensive, but you can store up to 999 at a time. It is highly recommended that you have at least 200 Beast Balls in your inventory at a time if you’re going to use them to catch legendaries.
The next section will detail a basic version of the “Trevenant Leppa Berry” Method for how to keep a Pokémon from struggling itself to death while you throw an immense amount of Beast Balls.
The Trevenant Leppa Berry Method
This basic trick is to get a Trevenant with it’s hidden ability: Harvest. Harvest is a really nifty ability because it has a 50% chance (100% in harsh sunlight) of restoring a berry that was consumed as a held item. This means that if you can get an opposing Pokémon a Leppa Berry (which restores 10PP to a depleted move) and give it the Harvest Ability, it will never struggle.
To accomplish this, we teach Trevenant Trick and Skill Swap. Skill Swap changes a Pokémon’s ability with it’s opponents and vice versa, which transfers Harvest. Trick swaps a Pokémon’s held item with it’s opponent, which transfers the Leppa Berry.
Now, you can swap to your False Swiper and Sleeper/Paralyzer to get the Pokémon down to a low HP value. Whenever the opposing Pokémon runs out of PP in a move, it should restore it automatically. Thus, it should never struggle itself to death and you can throw as many Poké Balls as you need.
Legendary Pokémon and Ultra Beasts In Each Wormhole Type
This section details what Pokémon are available in each of the colored wormholes. Please note that for all colors but White, some Pokémon require having certain party members. Those are listed in the “Requirements” column of each table.
White Wormhole
The White Wormholes will always have an Ultra Beast within. The first time you encounter them, there is a rather long cutscene that plays, so it is recommended that you encounter it, catch it, then find the hole again for shiny hunting. Ultra Beasts can be found an unlimited number of times.
| Ultra Beast | Artwork | Shiny Artwork | Rarity | Version |
|---|---|---|---|---|
| Nihilego | 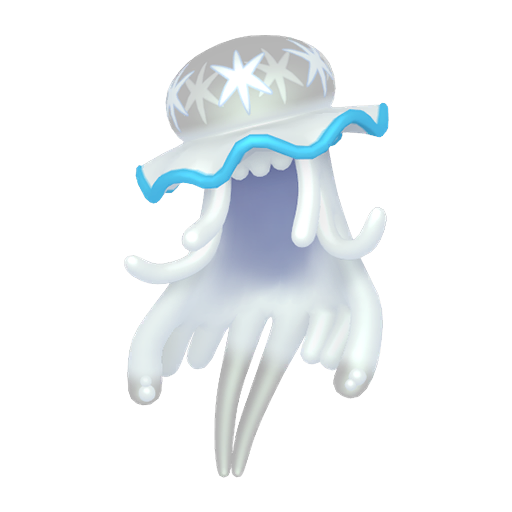 |
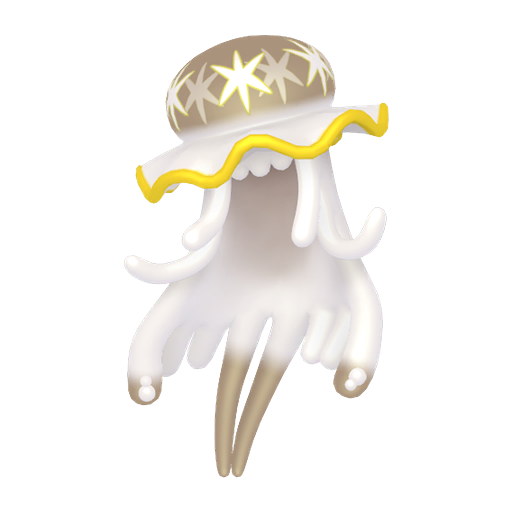 |
Common | Both |
| Buzzwole | 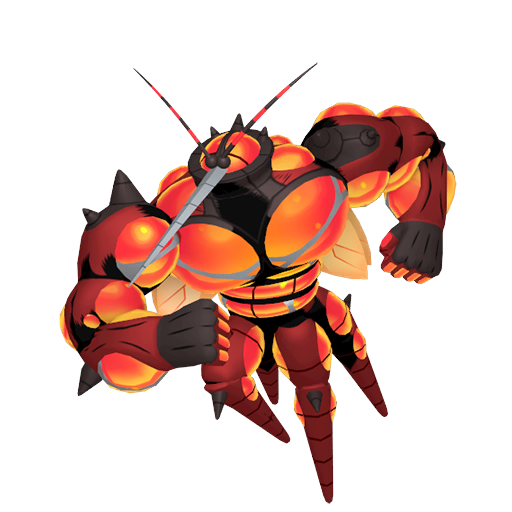 |
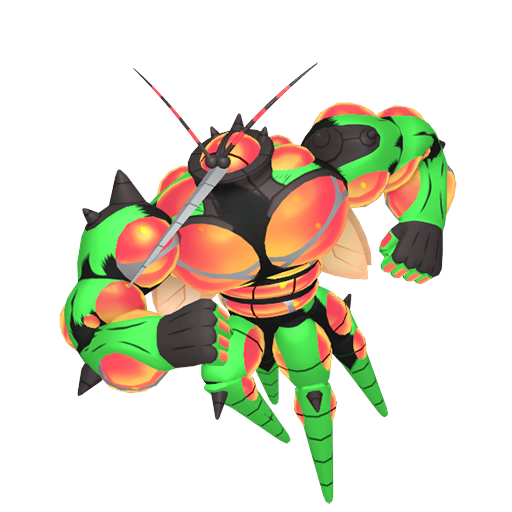 |
Common | Ultra Sun |
| Pheromosa |  |
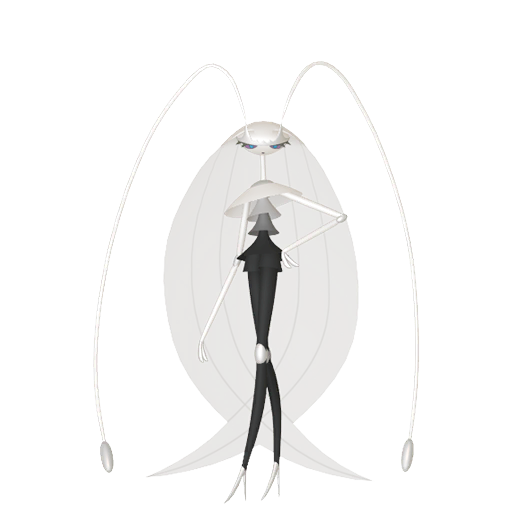 |
Common | Ultra Moon |
| Xurkitree | 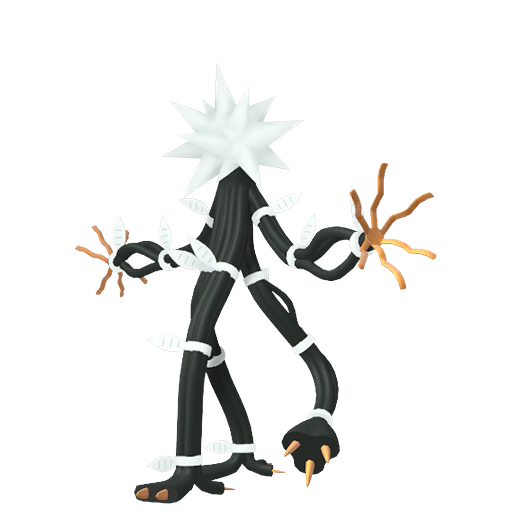 |
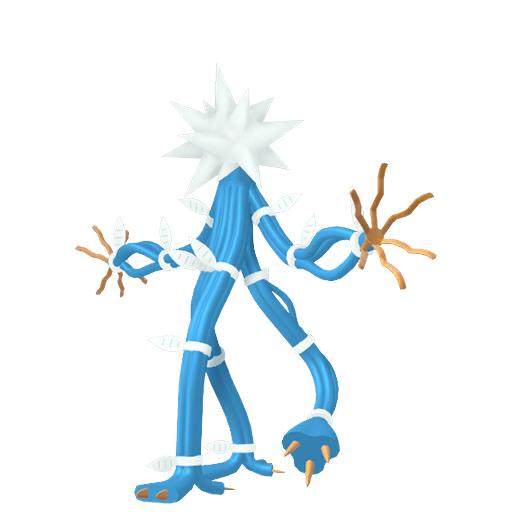 |
Uncommon | Both |
| Celesteela | 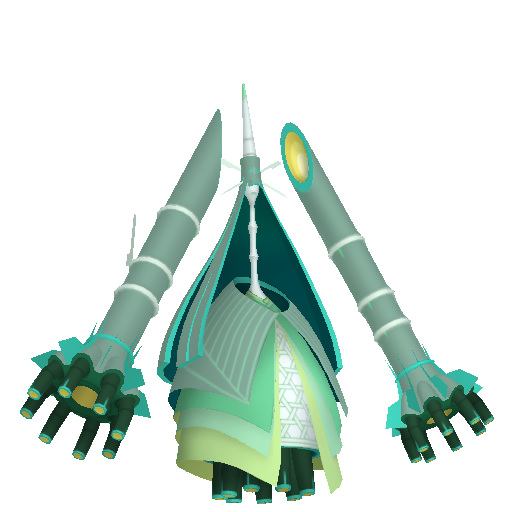 |
 |
Uncommon | Ultra Moon |
| Kartana |  |
 |
Uncommon | Ultra Sun |
| Guzzlord |  |
 |
Rare | Both |
Red Wormholes
| Legendary Pokémon | Artwork | Shiny Artwork | Version | Requirements |
|---|---|---|---|---|
| Articuno |  |
 |
Both | None |
| Zapdos |  |
 |
Both | None |
| Moltres |  |
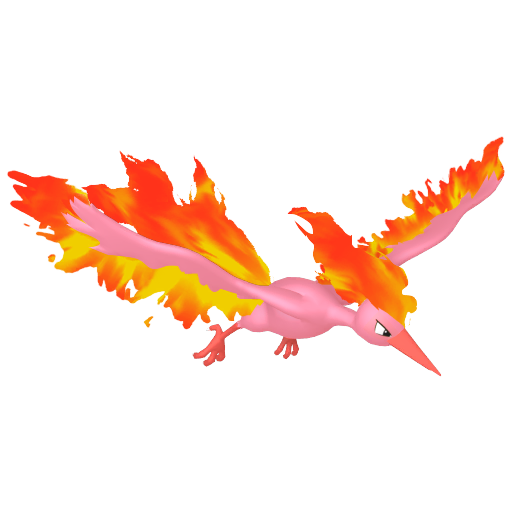 |
Both | None |
| Ho-Oh | 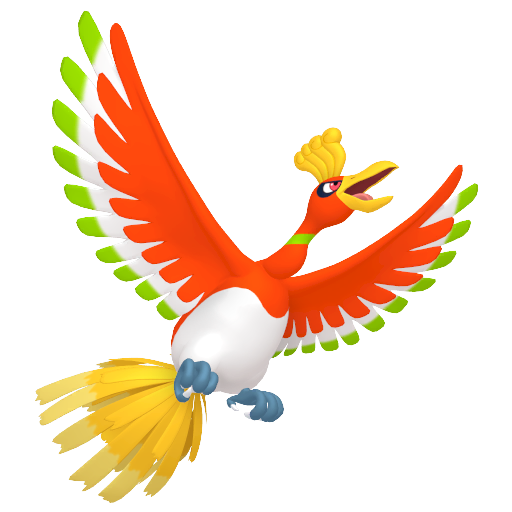 |
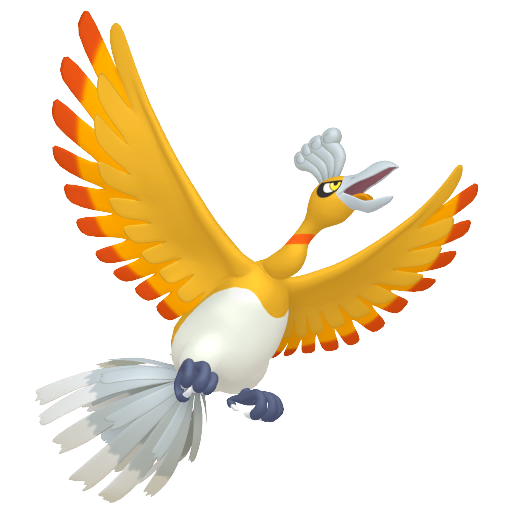 |
Ultra Sun | None |
| Rayquaza | 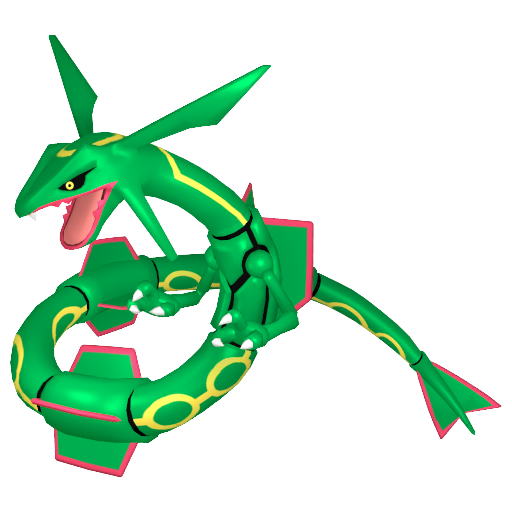 |
 |
Both | Kyogre and Groudon in party |
| Cresselia |  |
 |
Both | None |
| Tornadus |  |
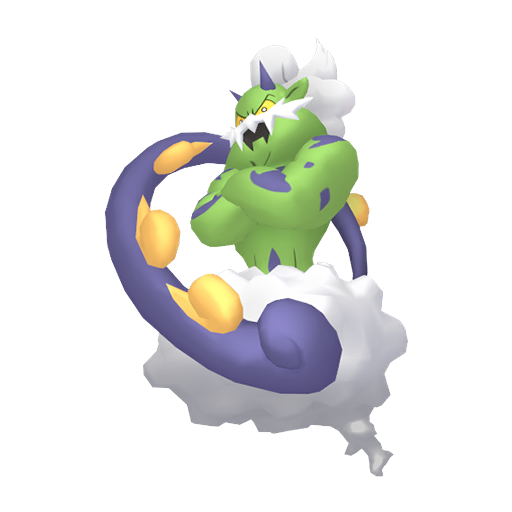 |
Ultra Sun | None |
| Thundurus | 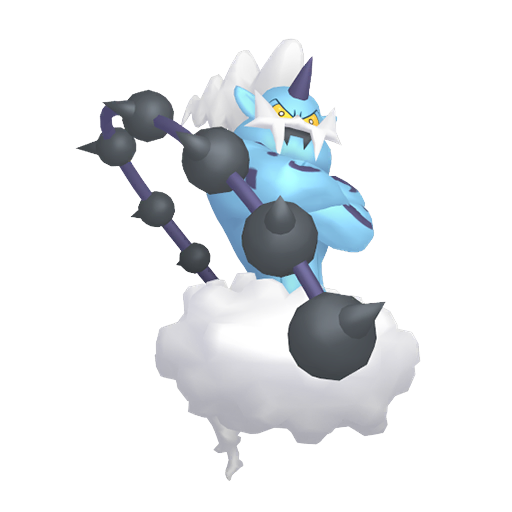 |
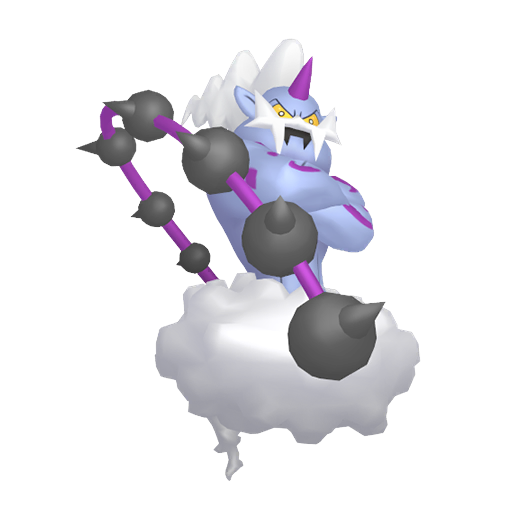 |
Ultra Moon | None |
| Landorus | 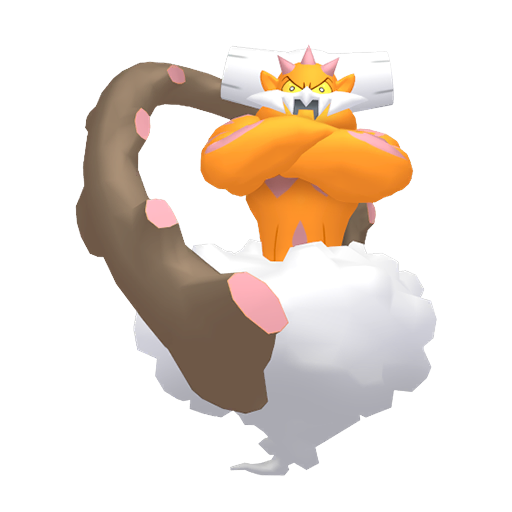 |
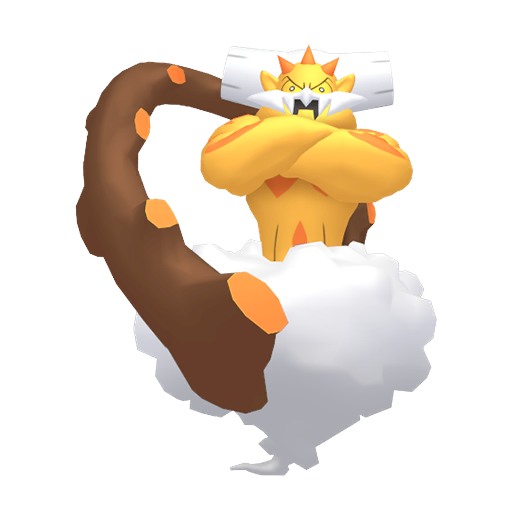 |
Both | Tornadus and Thundurus in party |
| Yveltal | 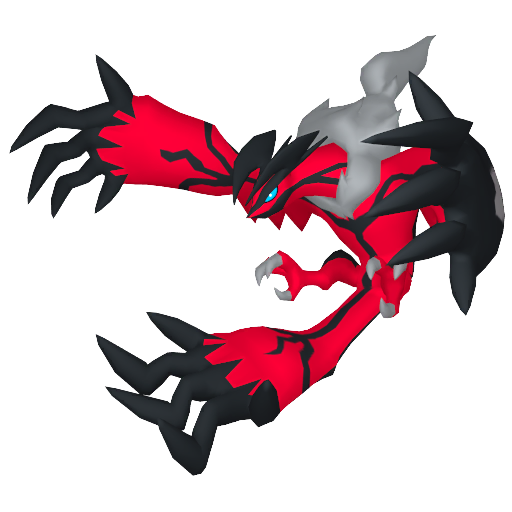 |
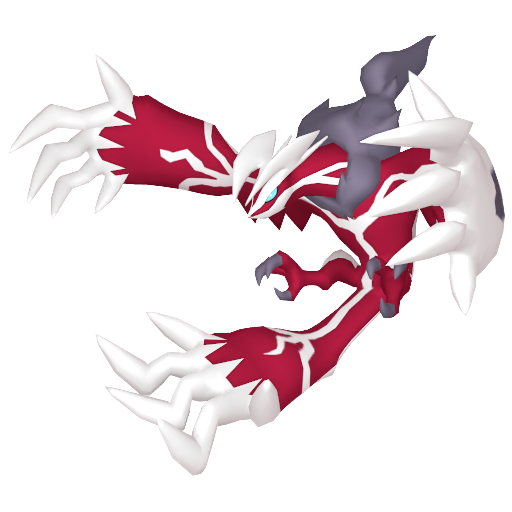 |
Ultra Moon | None |
Yellow Wormholes
| Legendary Pokémon | Artwork | Shiny Artwork | Version | Requirements |
|---|---|---|---|---|
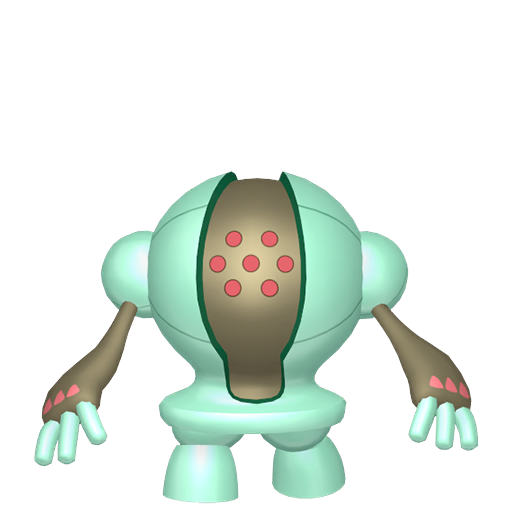
| Regirock | 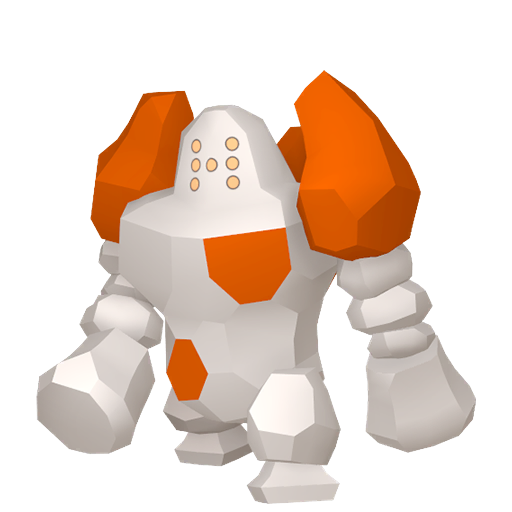 |
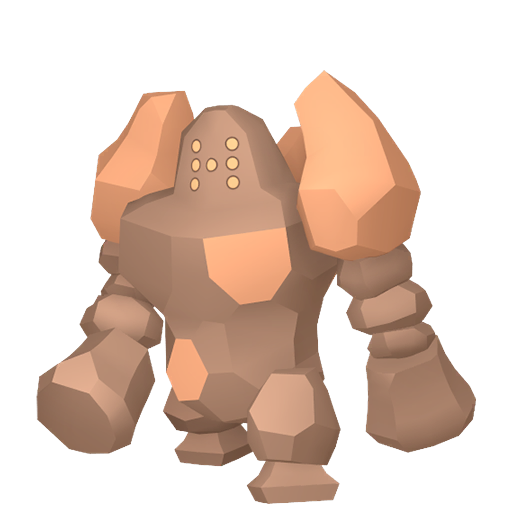 |
Both | None |
| Regice | 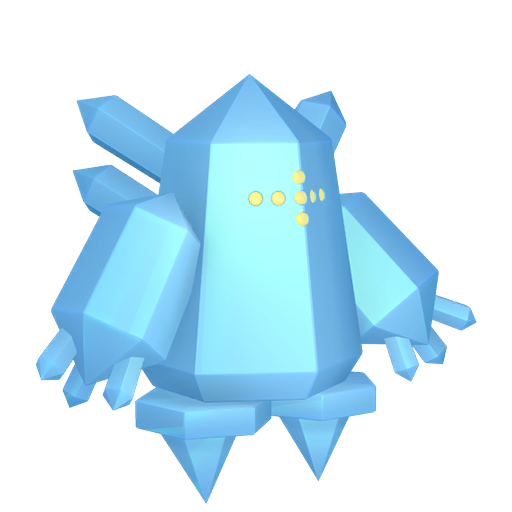 |
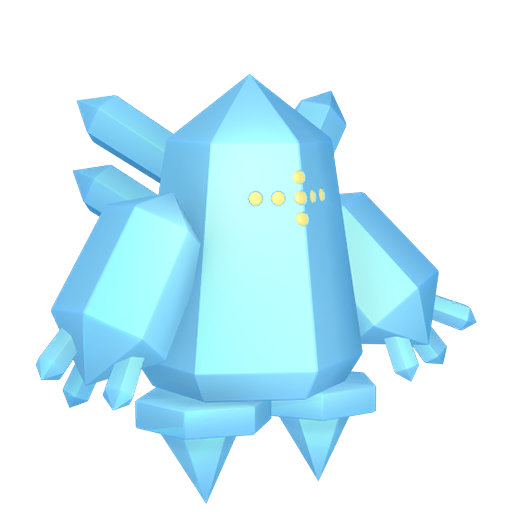 |
Both | None |
| Registeel | 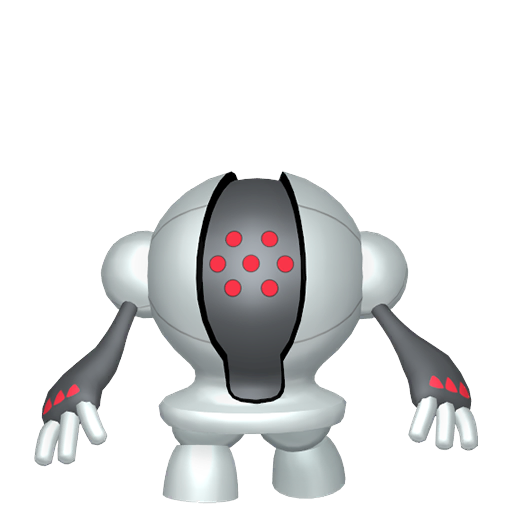 |
 |
Both | None |
| Groudon | 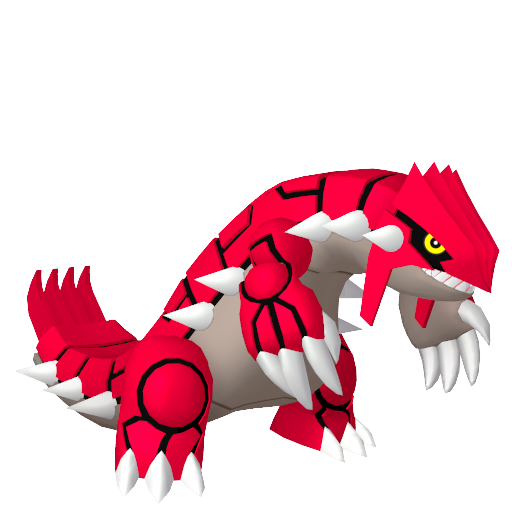 |
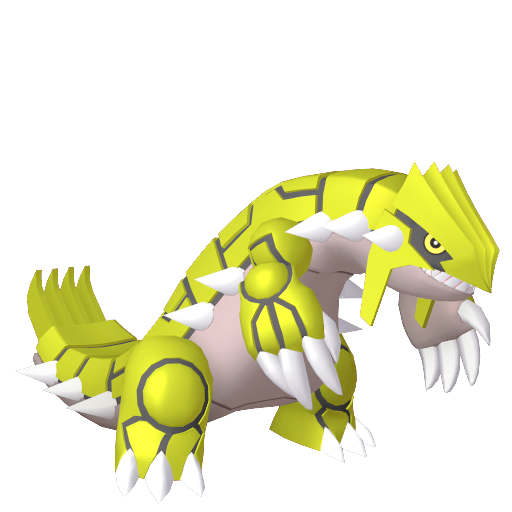 |
Ultra Sun | None |
| Palkia | 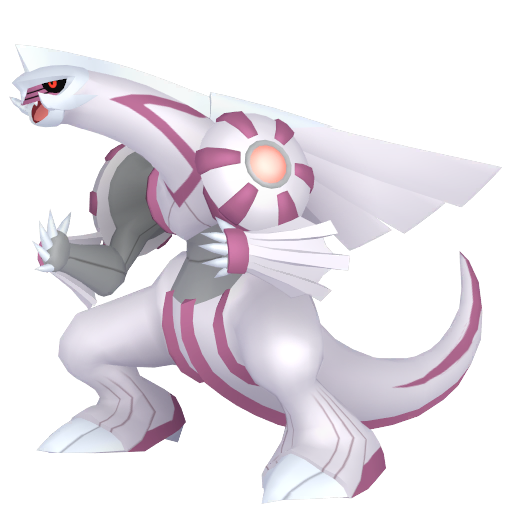 |
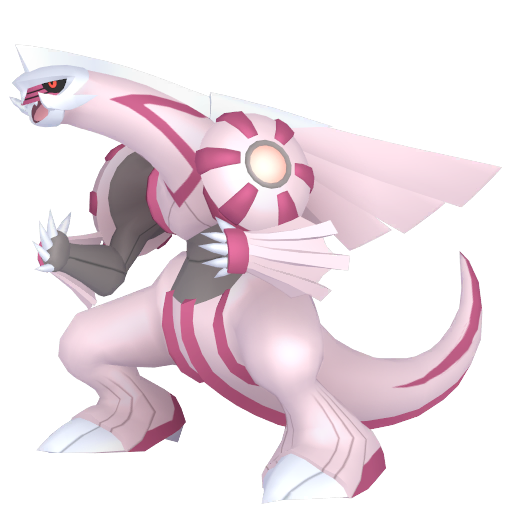 |
Ultra Moon | None |
| Heatran | 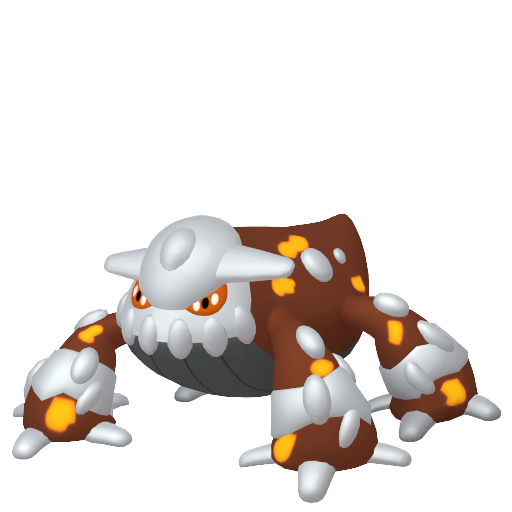 |
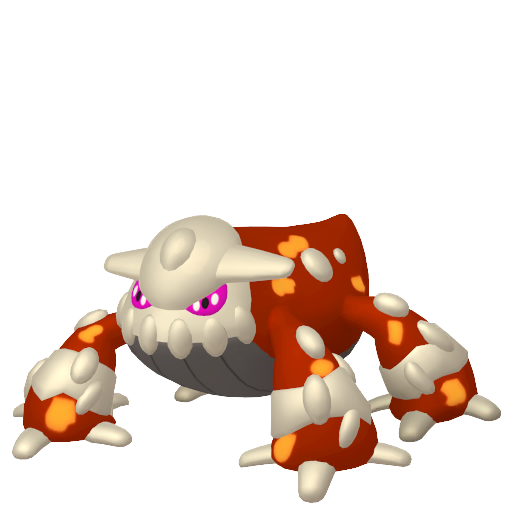 |
Ultra Sun | None |
| Regigigas | 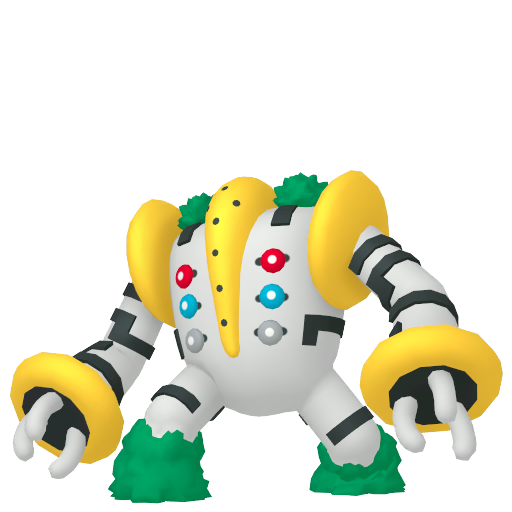 |
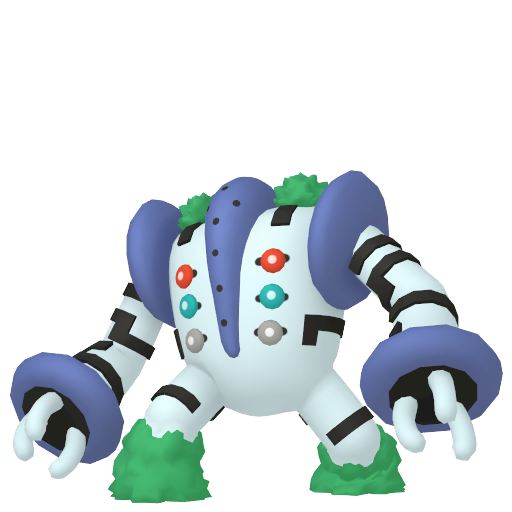 |
Ultra Moon | None |
| Giratina | 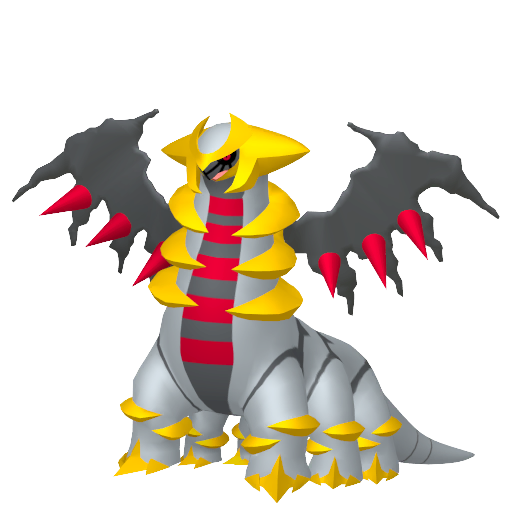 |
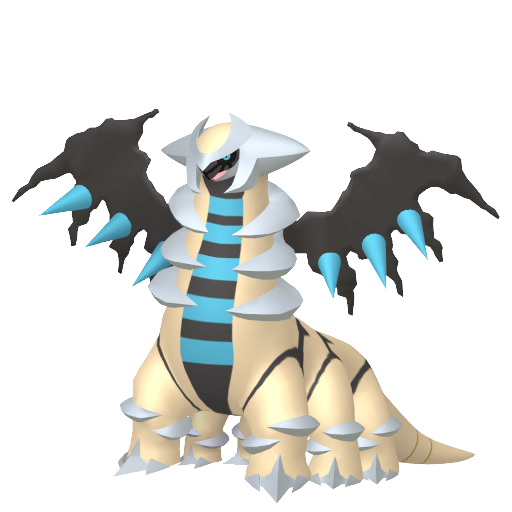 |
Both | Dialga and Palkia in party |
Blue Wormholes
| Legendary Pokémon | Artwork | Shiny Artwork | Version | Requirements |
|---|---|---|---|---|
| Suicune | 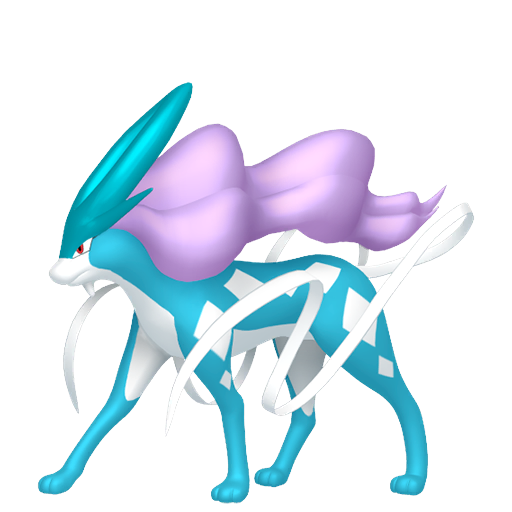 |
 |
Both | Entei and Raikou in party |
| Lugia | 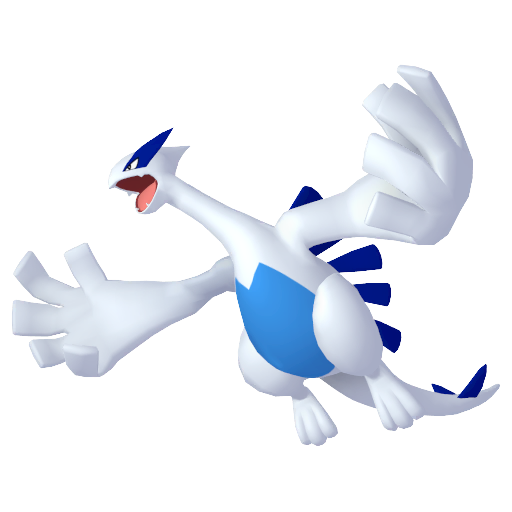 |
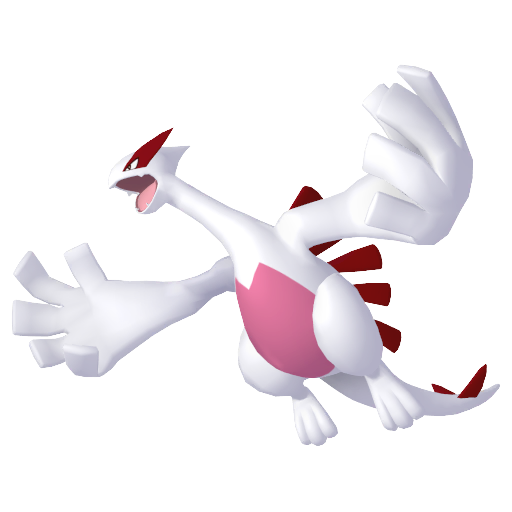 |
Ultra Moon | None |
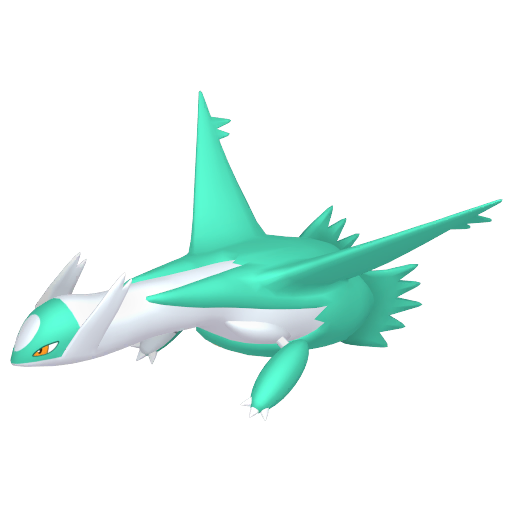
| Latias | 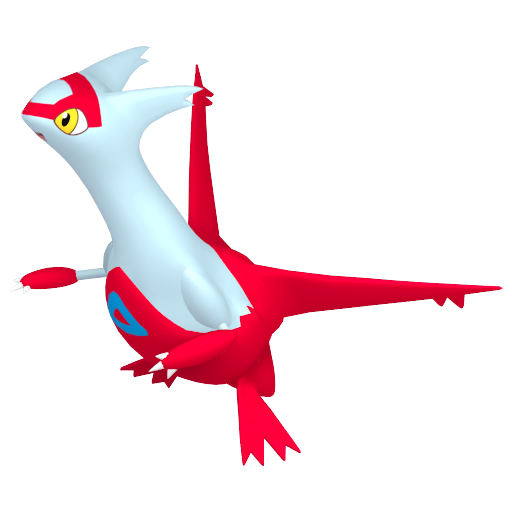 |
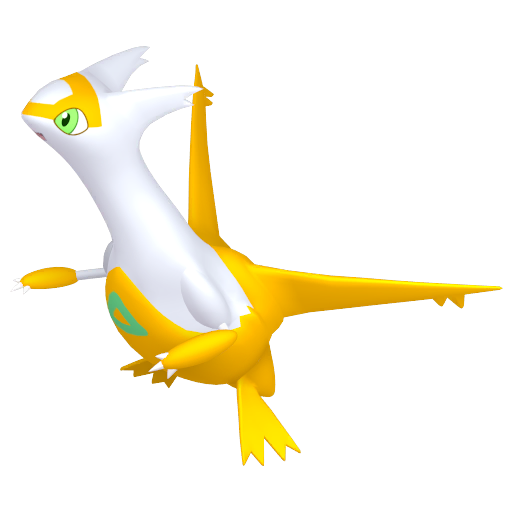 |
Ultra Moon | None |
| Latios | 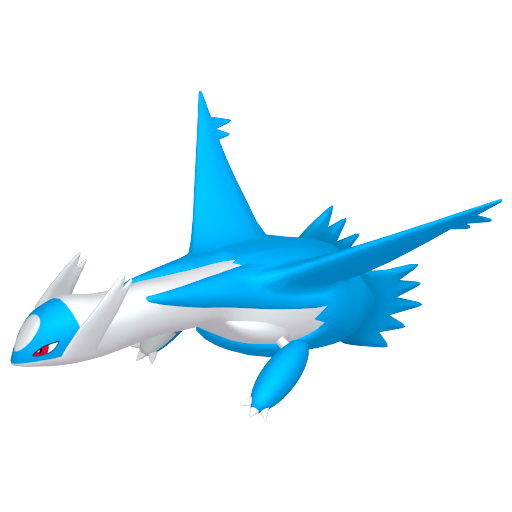 |
 |
Ultra Sun | None |
| Kyogre | 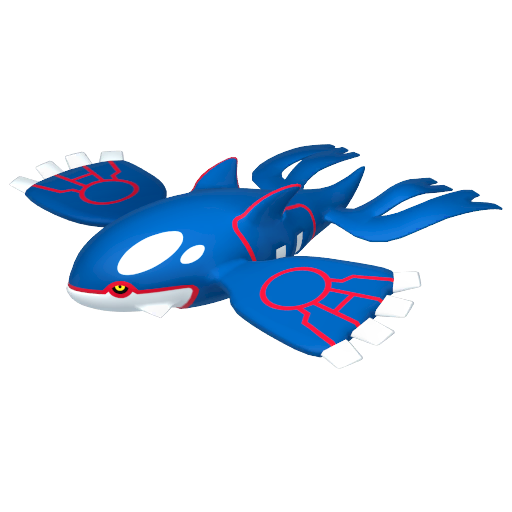 |
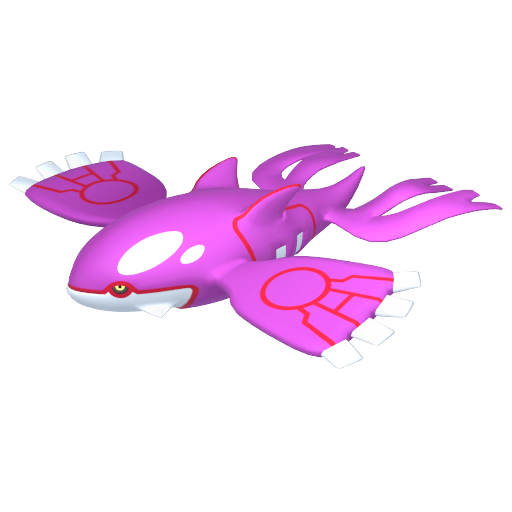 |
Ultra Moon | None |
| Uxie | 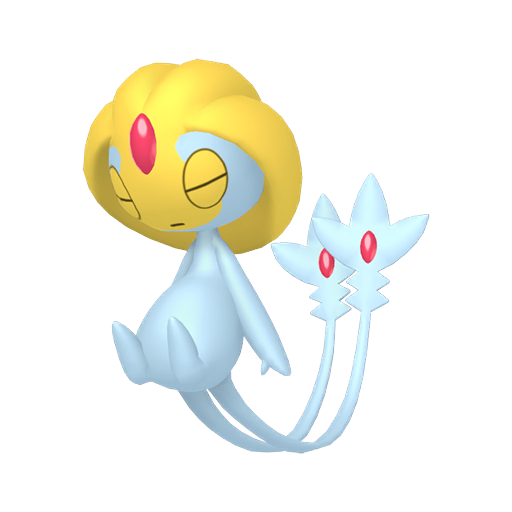 |
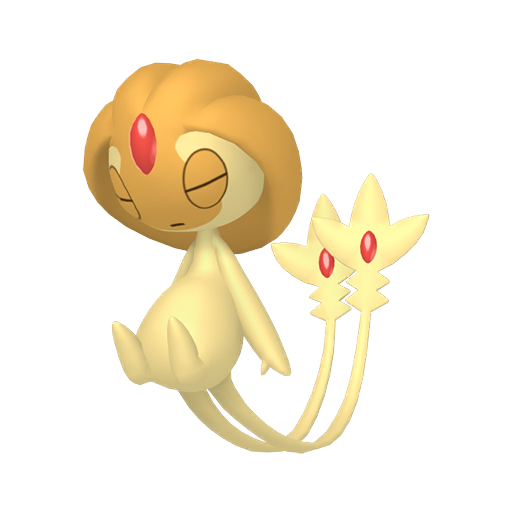 |
Both | None |
| Mesprit |  |
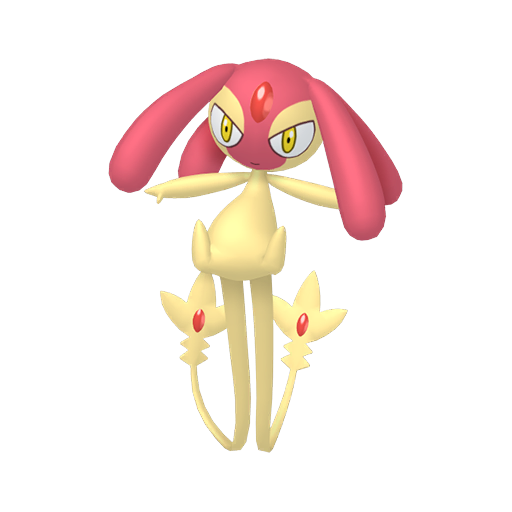 |
Both | None |
| Azelf | 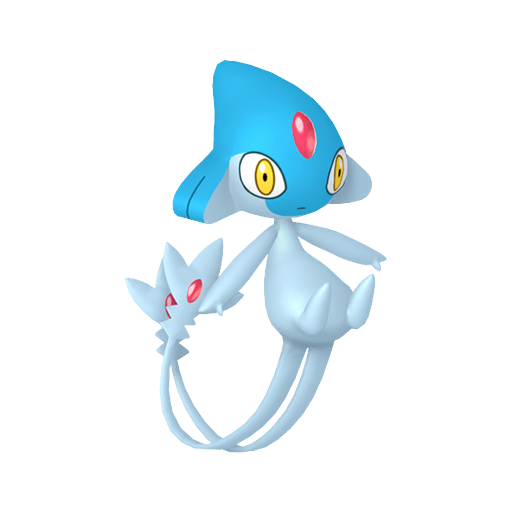 |
 |
Both | None |
| Kyurem |  |
 |
Both | Reshiram and Zekrom in party |
Green Wormholes
| Legendary Pokémon | Artwork | Shiny Artwork | Version | Requirements |
|---|---|---|---|---|
| Mewtwo |  |
 |
Both | None |
| Raikou | 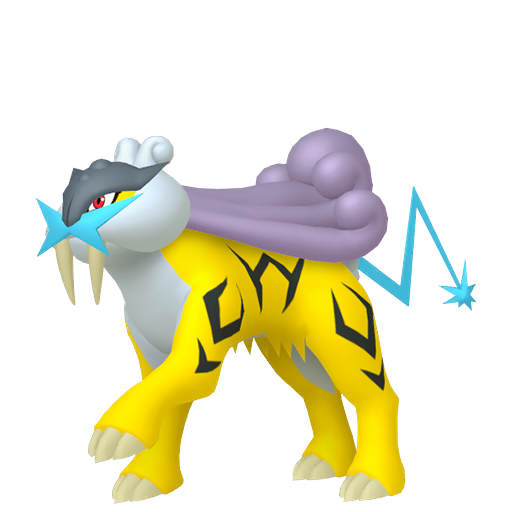 |
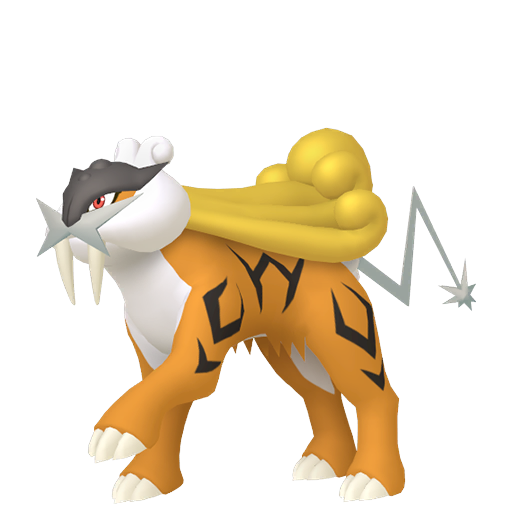 |
Ultra Sun | None |
| Entei | 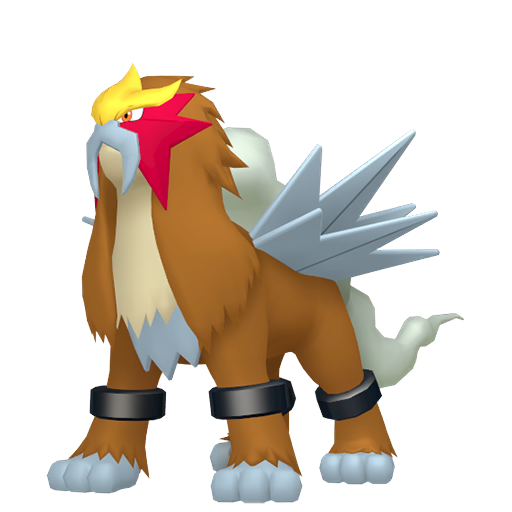 |
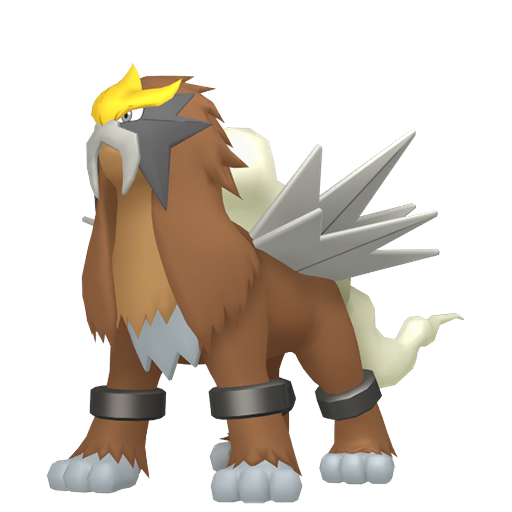 |
Ultra Moon | None |
| Dialga | 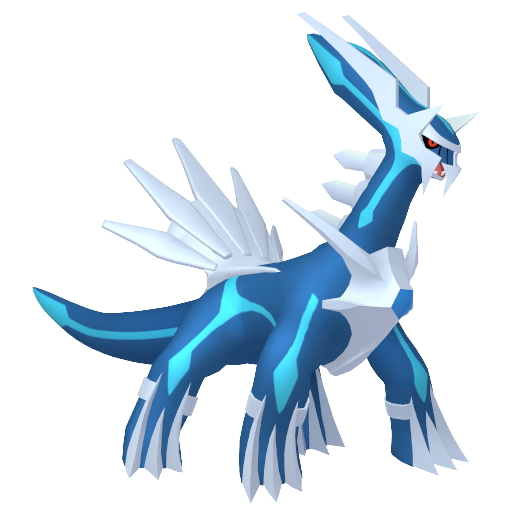 |
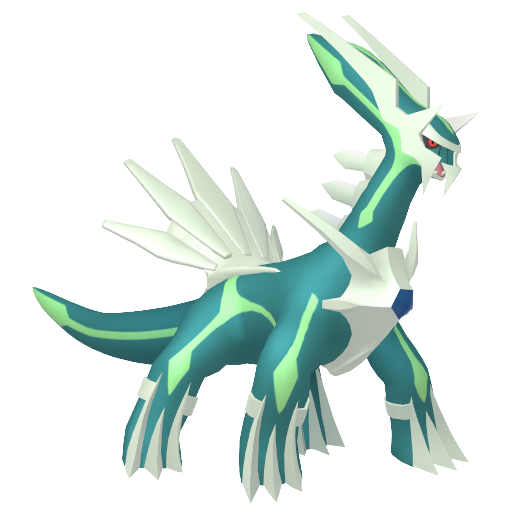 |
Ultra Sun | None |
| Cobalion | 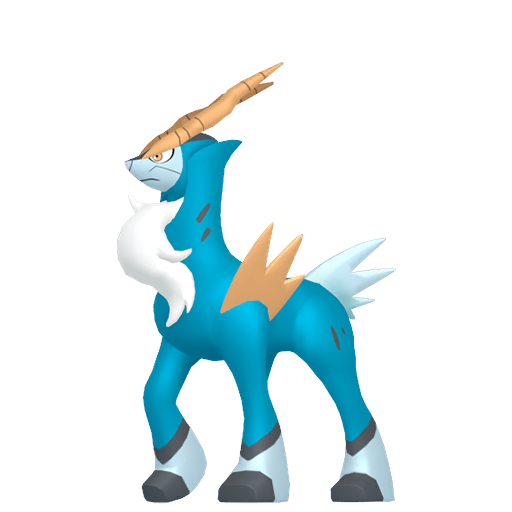 |
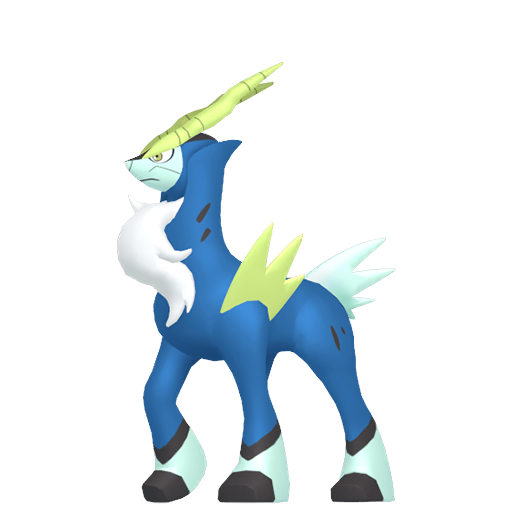 |
Both | None |
| Terrakion | 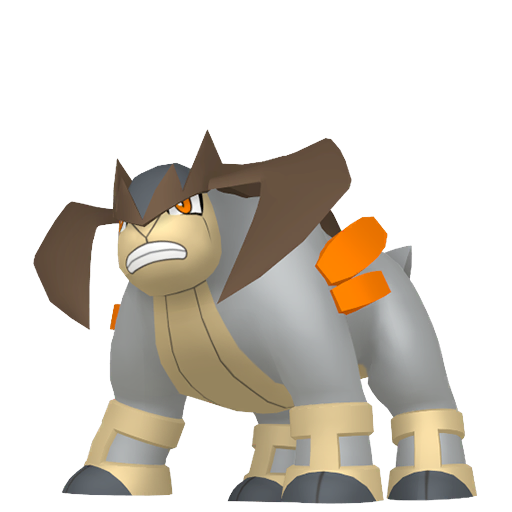 |
 |
Both | None |
| Virizion |  |
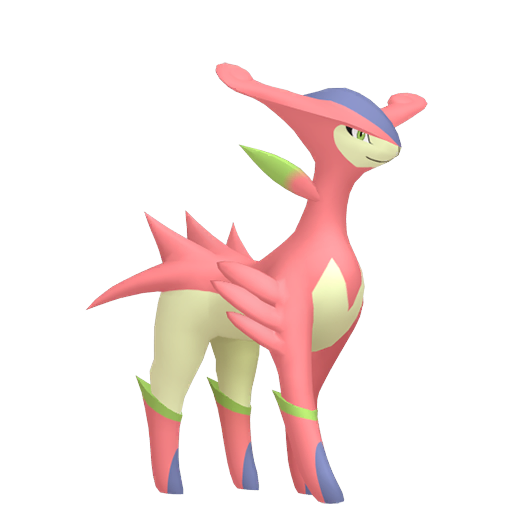 |
Both | None |
| Reshiram | 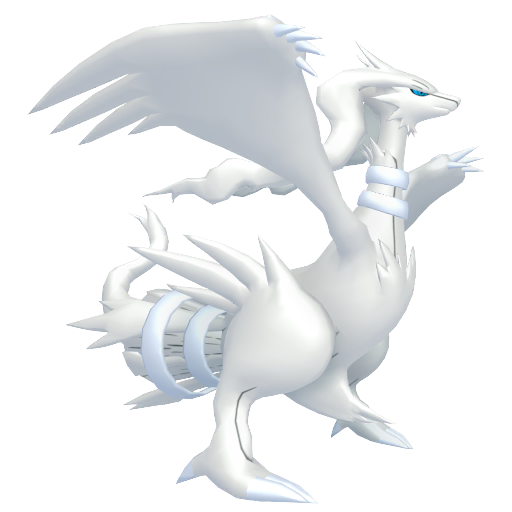 |
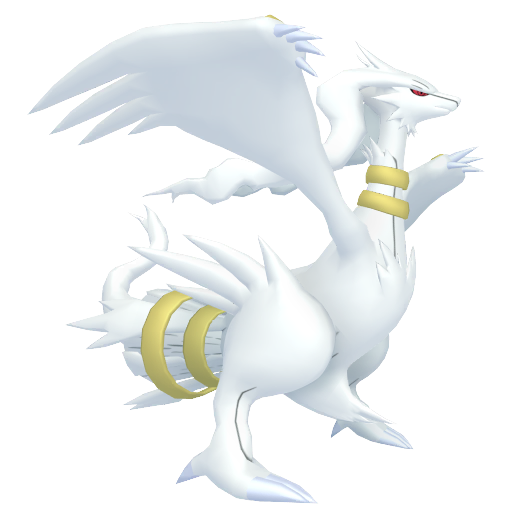 |
Ultra Sun | None |
| Zekrom | 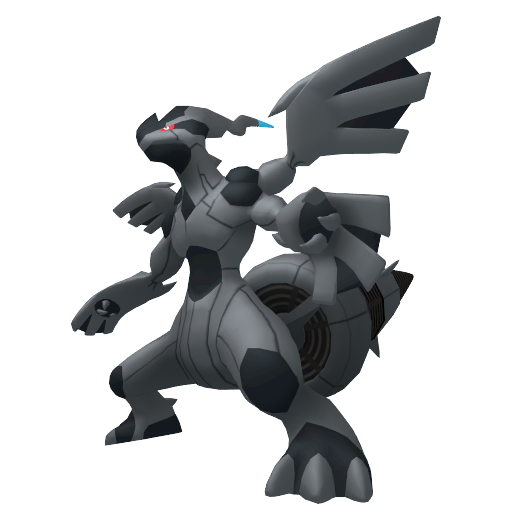 |
 |
Ultra Moon | None |
| Xerneas | 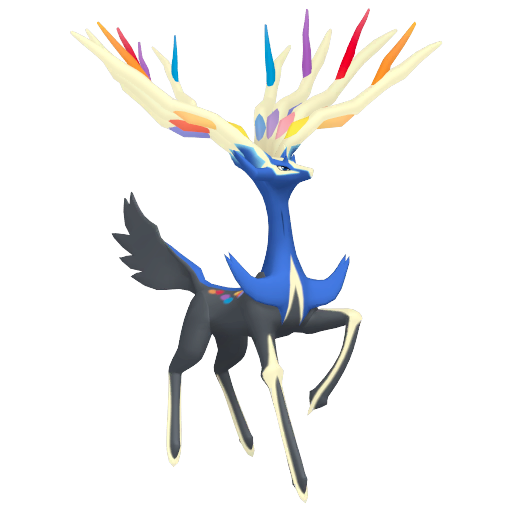 |
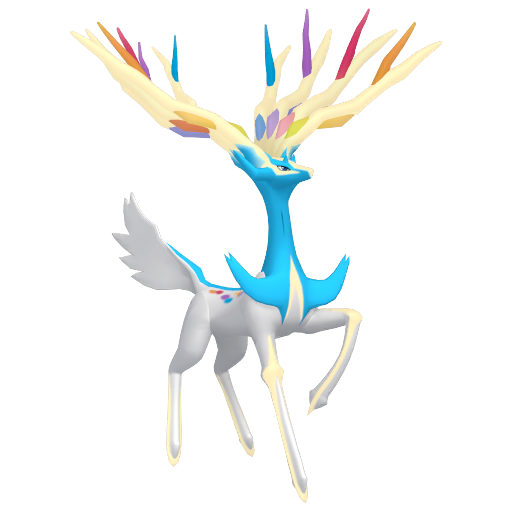 |
Ultra Sun | None |